Exporting Salesforce cases, emails, and attachments is critical for maintaining backups, ensuring compliance, and supporting data migrations. Salesforce offers multiple tools for this process, including the Data Export Service, Data Loader, and Reports with Workbench. Each tool serves different needs based on the volume of data, technical expertise, and specific export requirements.
Key Takeaways:
- Data Export Service: Best for full backups, including attachments. Available weekly or monthly depending on your Salesforce edition.
- Data Loader: Ideal for targeted exports using SOQL queries. Handles large datasets but requires technical setup.
- Reports + Workbench: Combines easy filtering with manual attachment exports for smaller, focused datasets.
- Permissions Needed: Ensure you have "Weekly Data Export", "API Enabled", and "Query All Files" permissions.
- Plan for Large Files: Files over 1 GB may need individual handling to avoid export failures.
Quick Comparison:
| Feature | Data Export Service | Data Loader | Reports + Workbench |
|---|---|---|---|
| Use Case | Full backups | High-volume exports | Focused, smaller exports |
| Attachment Support | Yes | No | Limited (IDs only) |
| Technical Skill | Low | Medium | Medium |
| Automation | Scheduled | Command-line scripts | Manual |
Exporting your data ensures you maintain control and avoid costly recovery services, especially if you are comparing Supportbench vs Salesforce for your support needs. Choose the method that fits your needs, and always plan for large files and the 48-hour download window.
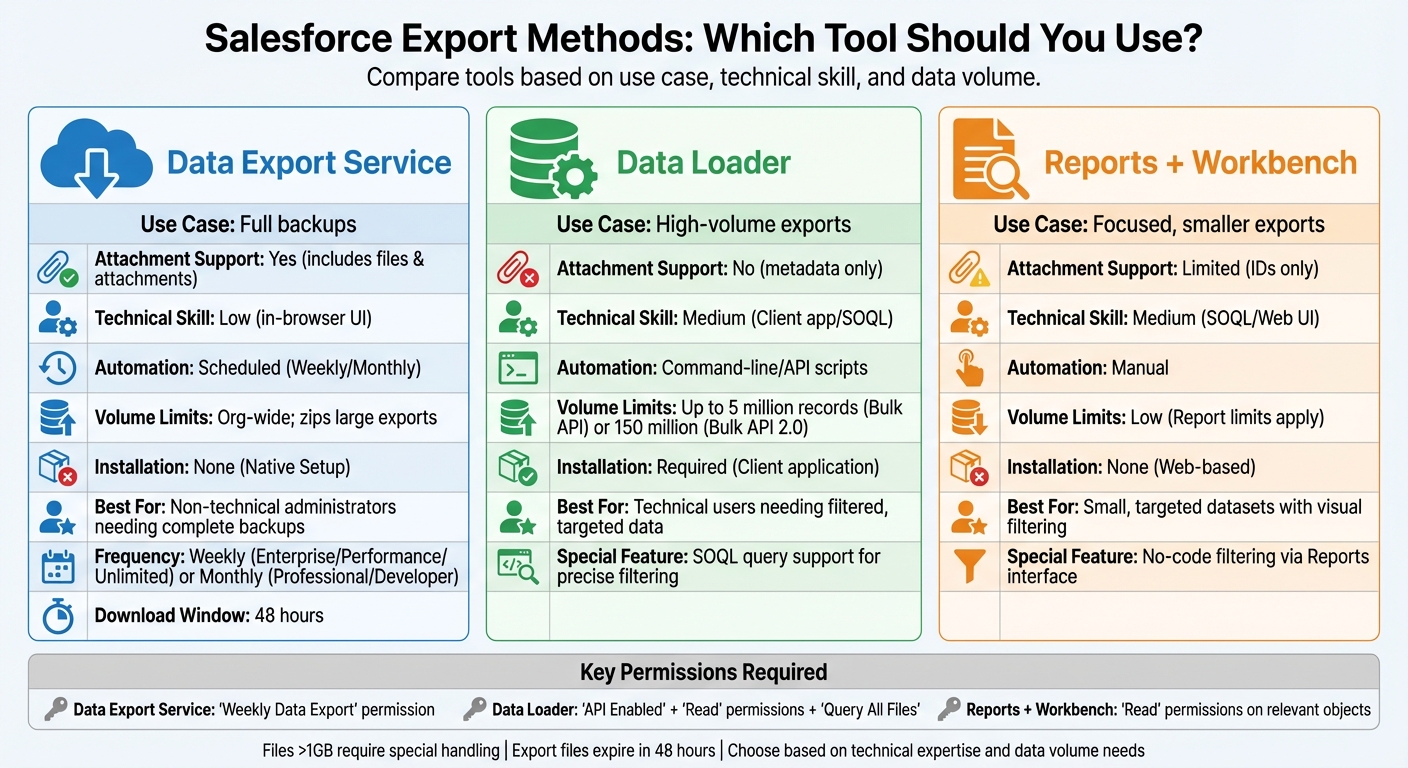
Salesforce Export Methods Comparison: Data Export Service vs Data Loader vs Reports with Workbench
Export Data from Salesforce Using Workbench | Workbench Tutorials | SOQL Tutorial
sbb-itb-e60d259
Prerequisites and Permissions Required
Before exporting data from Salesforce, it’s essential to confirm that your account has the necessary permissions. Without the right access, you might face issues like incomplete exports or roadblocks. The specific permissions needed depend on the export method you’re using.
Ensuring Proper User Permissions
For the Data Export Service, you’ll need the "Weekly Data Export" permission. Typically, this permission is granted only to System Administrators by default. As Salesforce Help explains:
"Users with the ‘Weekly Data Export’ permission can view all exported data and all custom objects and fields in the Export Service page. This permission is granted by default only to the System Administrator profile because it enables wide visibility."
If you’re using Data Loader, you’ll need "API Enabled" and "Read" permissions for the objects you want to export, such as Cases or EmailMessage. Additionally, downloading the Data Loader client from Salesforce Setup requires the "Modify All Data" permission. To export attachments and files, ensure the "Query All Files" permission is enabled in your Profile or Permission Set.
To check your permissions, go to Setup and search for "Data Export" in the Quick Find box. If the option appears and is clickable, you have the required access. Also, confirm that "API Enabled" is selected under Administrative Permissions in your Profile. Starting with the Winter ’25 release, the Object Access page in Setup provides a quick way to review your specific permissions for any object.
Preparing Your Salesforce Environment
Once you’ve verified permissions, it’s time to prepare your Salesforce environment for a smooth export. Begin by checking your Daily API Requests limit under Company Information in Setup, especially if you’re planning a large export using Data Loader. Data Loader can handle up to 5,000,000 records , so staying within your API limit is critical.
If exporting attachments, keep in mind that files larger than 1 GB (1,073,741,824 bytes) can cause the Data Export Service to fail or become impractical to download. Matthew VanderMeer from AdmiralBridge suggests:
"Treat files > 1,073,741,824 bytes (1 GB) as ‘special’ and plan to download them individually (or with a scripted API approach) before running the bulk Data Export."
To avoid issues, identify large files in advance. Use the Developer Console to run these queries:
- For Salesforce Files:
SELECT Id, Title, ContentSize FROM ContentVersion WHERE ContentSize > 1073741824 ORDER BY ContentSize DESC - For legacy attachments:
SELECT Id, Name, BodyLength FROM Attachment WHERE BodyLength > 1073741824 ORDER BY BodyLength DESC
Addressing large files beforehand ensures a smoother export process.
Lastly, remember that files exported via the Data Export Service are only available for 48 hours before Salesforce deletes them . Plan your download schedule accordingly. To maintain data accuracy across systems, select UTF-8 encoding during the export setup .
Method 1: Using Salesforce Data Export Service
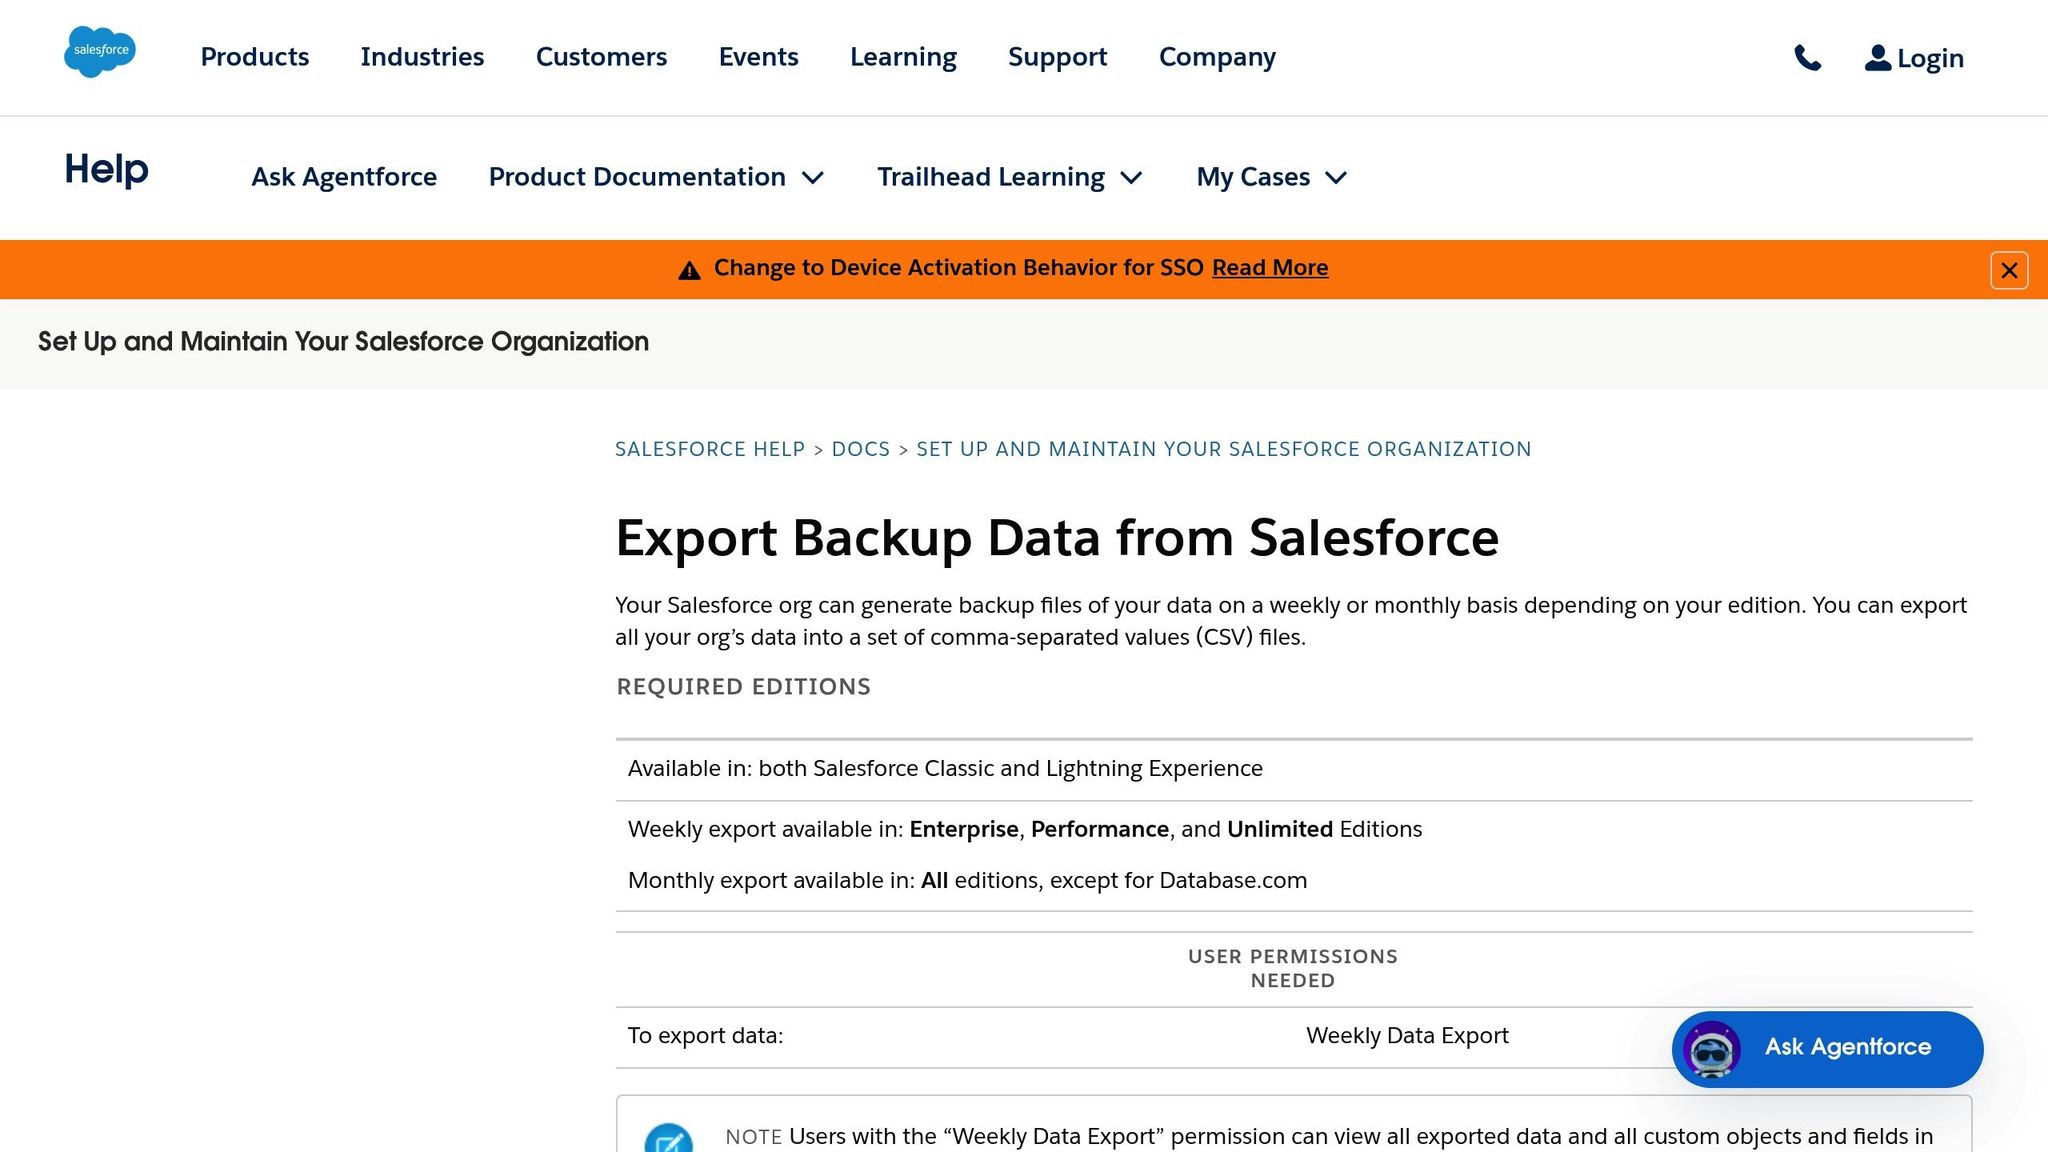
The Salesforce Data Export Service is a straightforward built-in tool for exporting cases, emails, and attachments in bulk. Accessible through Setup, this service generates a zip file containing CSVs and binary attachments. It’s ideal for creating a full backup of your support data, including all related files, without having to write custom queries.
Here’s what you need to know: If you’re using Enterprise, Performance, or Unlimited editions, you can perform a manual export once every 7 days. For Professional and Developer editions, the waiting period is 29 days . The completion time for exports can vary – during high-demand periods, it might take over a week. Once the export is ready, the download link is valid for 48 hours after you receive the notification email. Keep in mind, only one zip file can be downloaded at a time, and you’ll need to wait 60 seconds between downloads to avoid an HTTP ERROR 429. Also, formula and roll-up summary fields are excluded, so you’ll need to manually recalculate these if you’re migrating data to another system.
This export process not only protects essential data but also supports advanced analysis and decision-making. Below are detailed steps for exporting cases, emails, and attachments.
Step-by-Step: Exporting Cases and Emails
- Go to Setup, type "Data Export" in the Quick Find box, and select Data Export.
- Choose between Export Now (for immediate exports) or Schedule Export (for recurring backups). If the waiting period since your last export has passed, select Export Now.
- Use UTF-8 encoding and enable the option to "Replace carriage returns with spaces" to maintain CSV file integrity.
- Decide on your data selection:
- To export everything – including Cases, EmailMessage, and related metadata – select "Include all data".
- For a more focused export, manually select Case and EmailMessage. For recurring exports, reselect "Include all data" to capture any new custom objects.
- Click Start Export. Salesforce will email you a download link once the process is complete. The resulting zip file will typically include files like
Case.csv,EmailMessage.csv, and relationship files such asContentDocumentLink.csv.
Step-by-Step: Exporting Attachments and Files
To include attachments and files alongside cases and emails, follow these additional steps:
- In the export configuration, check the boxes for "Include images, documents, and attachments" and "Include Salesforce Files and Salesforce CRM Content document versions". Without these options, only metadata will be included, not the actual file content.
- The export will generate folders like Attachments (for older attachments) and ContentVersion (for Salesforce Files). These folders will contain binary files organized by their Salesforce IDs, along with CSV files mapping each file to its associated case.
- Before exporting, run a query to identify files larger than 1 GB. As Matthew VanderMeer from AdmiralBridge advises, files of this size should be downloaded individually to avoid issues.
- If your export is large, Salesforce may split it into multiple zip files. These archives are typically capped at 512 MB each, though files up to 2 GB might appear in their own zip.
- Download the files promptly, as the links will expire 48 hours after being sent.
This process ensures you have a complete backup of your cases, emails, and files, ready for safekeeping or further analysis.
Method 2: Using Salesforce Data Loader
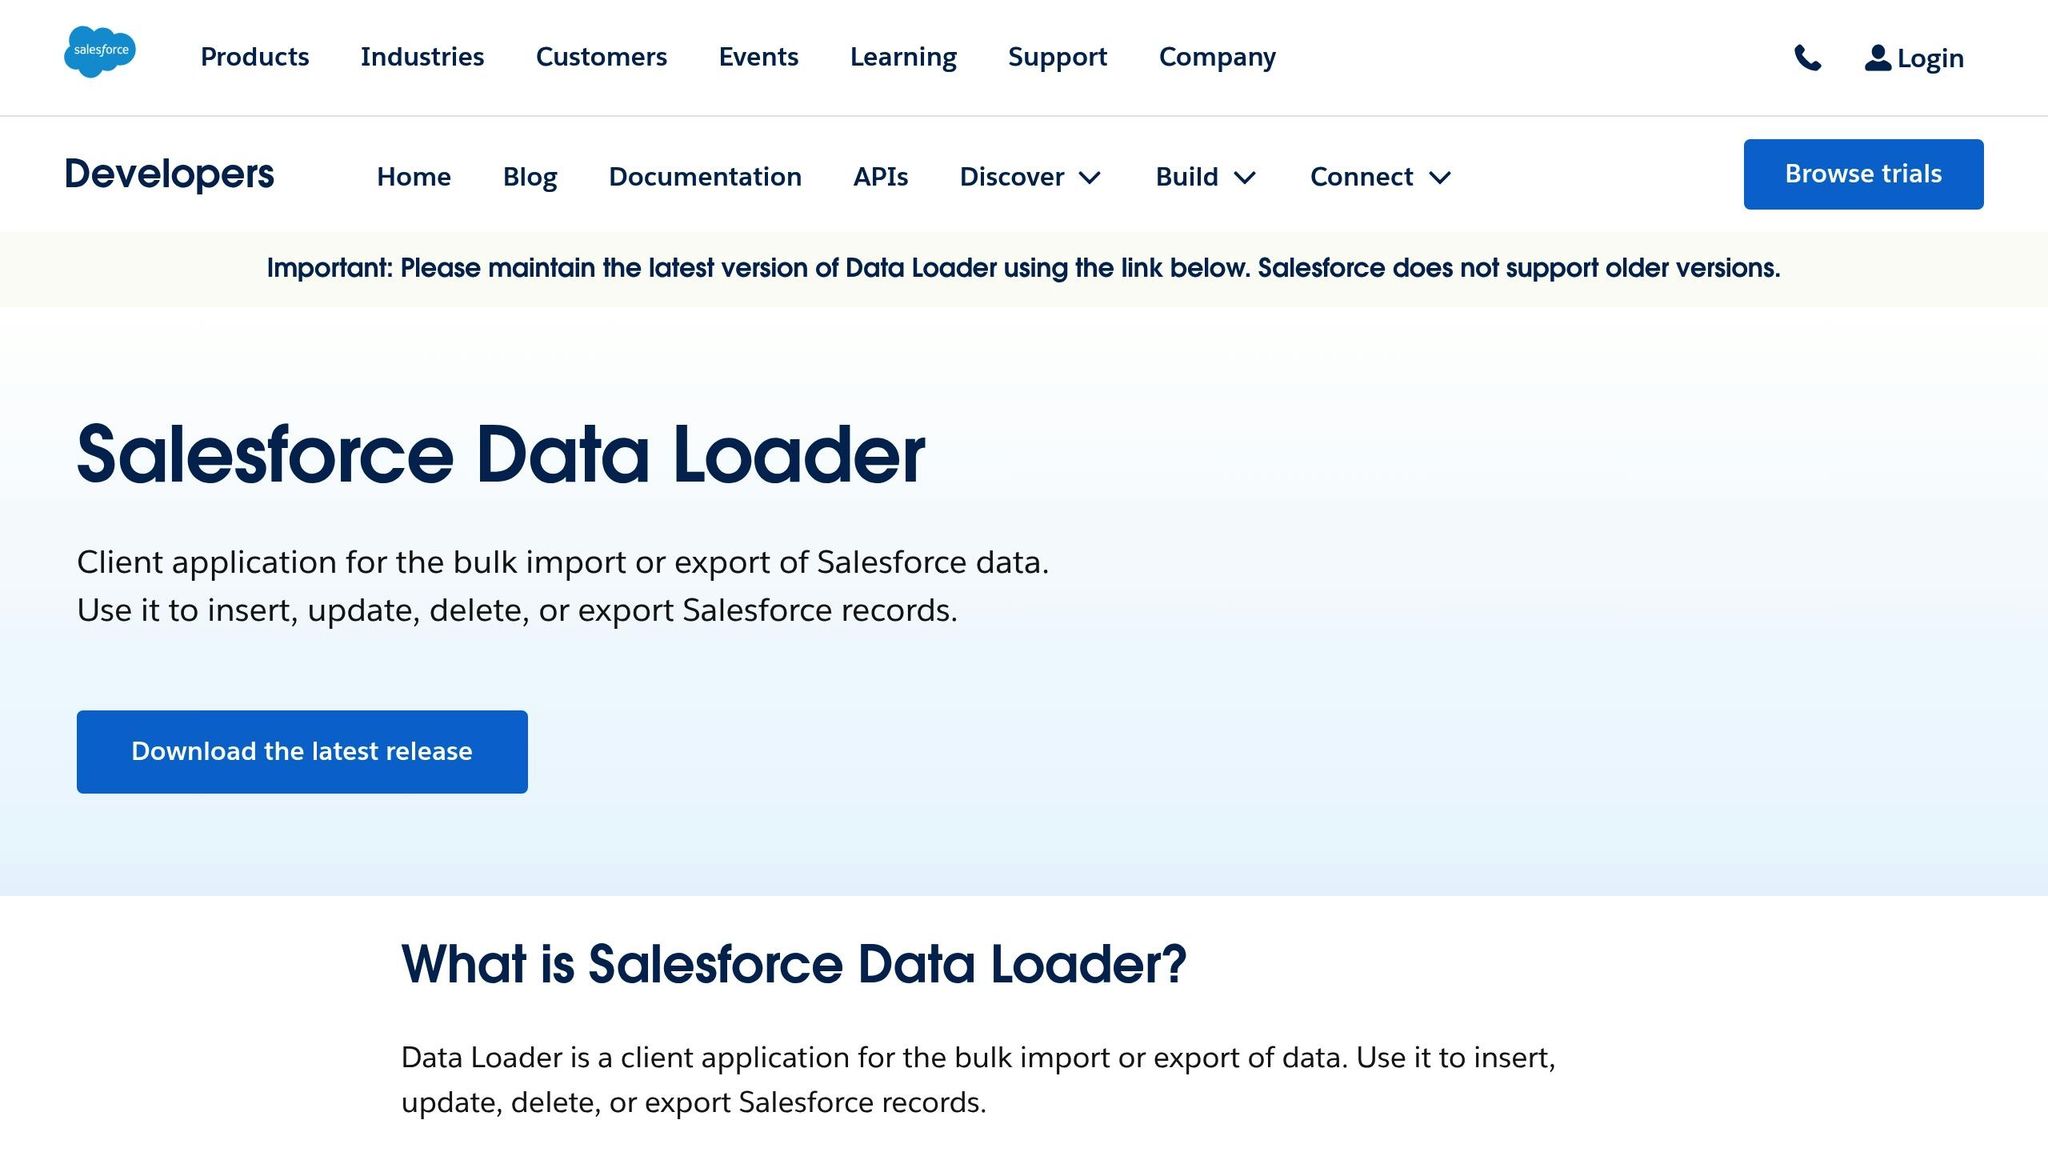
Salesforce Data Loader is a desktop application designed for bulk data operations, offering technical users fine-grained control over their exports. Unlike the Data Export Service – which bundles all data into a single zip file – Data Loader allows you to run SOQL queries and extract only the specific records you need. For example, you can filter for closed cases from the past 30 days.
This tool provides two interfaces: a graphical interface for manual tasks and a command-line interface for automating and scheduling exports. It’s capable of handling substantial data loads, supporting up to 5 million records with the Bulk API and up to 150 million records with Bulk API 2.0. Best of all, the desktop version is free with any Salesforce edition that includes API access.
One standout feature is its compatibility with both standard and custom objects, letting you pull fields from related objects (like fetching Account names while exporting Cases). However, keep in mind that it doesn’t support nested queries or child object queries in a single pass. This makes it better suited for targeted, filtered data extractions rather than complex migrations or audits.
Step-by-Step: Exporting Cases and Emails with SOQL Queries
- Step 1: Open Data Loader and click Export. Log in to your Salesforce environment (Production or Sandbox).
- Step 2: Choose the Case object from the dropdown. Use the Query Builder to select fields like
Id,CaseNumber,Subject,Status,Description, andCreatedDate. For more control, switch to the SOQL editor and apply filters such as:
WHERE Status = 'Closed'
or
WHERE CreatedDate = LAST_N_DAYS:30 - Step 3: To export emails, select the EmailMessage object and include fields such as
Id,ParentId,Subject,TextBody,HtmlBody, andFromAddress. Filter records by their parent case using a query like:
WHERE ParentId IN (SELECT Id FROM Case WHERE Status = 'Closed') - Step 4: To include archived or deleted records from the Recycle Bin, use the Export All option instead of the standard Export.
- Step 5: If your Salesforce environment enforces IP restrictions, append your security token to your password (e.g.,
mypasswordXXXXXXXXXX). - Step 6: Avoid selecting compound fields like "Address." Instead, choose individual components (e.g.,
MailingStreetandMailingCity) to prevent errors. - Step 7: Choose a destination folder, run the export, and Data Loader will generate a CSV file with your filtered data.
Once you’ve exported cases and emails, you can move on to exporting attachments using Base64 encoding.
Step-by-Step: Exporting Attachments (Base64 Handling)
When exporting attachments, Data Loader outputs file content as Base64-encoded strings, which require decoding in post-processing.
- Step 1: Select the Attachment object (for legacy attachments) or ContentVersion (for modern Salesforce Files). Include key fields like
Id,ParentId,Name, and eitherBody(for Attachment) orVersionData(for ContentVersion). - Step 2: To narrow results to case-related attachments, use a filter such as:
WHERE ParentId IN (SELECT Id FROM Case)
For modern Files, query ContentDocumentLink with a condition like:
WHERE LinkedEntityId LIKE '500%' - Step 3: Handle files larger than 1 GB individually to avoid issues.
- Step 4: After exporting, the
BodyorVersionDatacolumn in your CSV will contain Base64-encoded text. Use a script (commonly in Python) to decode these strings and save them as binary files with their original names and extensions.
While this extra decoding step might seem tedious, it offers complete control over which files you extract and how they’re organized – ideal for migrations or archiving.
Method 3: Using Salesforce Reports and Workbench
If you’re looking for a no-code solution, combining Salesforce Reports with Workbench offers a balanced approach. It sits between the simplicity of the automated Data Export Service and the more technical Data Loader. Reports provide an easy-to-use interface for filtering and organizing case and email metadata, while Workbench handles the extraction of attachments.
This method is ideal for focused exports. Reports help you visually filter and identify specific records, and Workbench uses those record IDs to retrieve attachment data. While this process involves manual steps, it gives you precise control without needing SOQL expertise or additional software installations. It effectively combines graphical filtering with technical extraction, making it a useful option alongside other export methods.
Step-by-Step: Exporting Cases and Emails via Reports
- Go to the Reports tab and click New Report. Choose the Cases report type for general case data, or select Cases with Emails if you need email bodies and metadata.
- Adjust the "Show Me" filter to All Cases and set the "Date Range" to All Time to ensure you capture the full dataset.
- Add key columns like Case ID, Subject, Status, Description, and CreatedDate for cases. For emails, include Email Body, From Address, and Sent Date.
- Click Run to preview the data, then use the Export button at the top of the report.
- Select "Details Only" in CSV format. This option removes unnecessary visual elements, like headers and groupings, making the data cleaner and easier to work with. Avoid the "Formatted Report" option unless you’re creating a quick visual review, as it complicates further processing.
Once you’ve exported the metadata using Reports, you can move on to Workbench to retrieve attachments.
Step-by-Step: Exporting Attachments via Workbench
Since Data Loader doesn’t support attachment exports, Workbench steps in to fill this gap by allowing direct access to the Attachment object through SOQL.
- Start by creating a report on External Documents Attached to Cases to confirm which records have associated files.
- Log into Workbench and navigate to Queries > SOQL Query. Select the Attachment object (or ContentVersion for Salesforce Files).
- Choose fields such as
Id,ParentId,Name, andBody. Use the ParentId values from your report to filter the query, e.g.,WHERE ParentId IN ('500XXXXXXXX', '500YYYYYYYY'). This ensures that only relevant attachments are exported. - Set the "Export to" option to Bulk CSV for handling large datasets efficiently. Run the query and download the resulting file.
Keep in mind that Workbench exports metadata and Base64-encoded attachment content. You’ll need to decode the Base64 data to access the actual files. Also, ensure you have the necessary "Read" permissions on the records.
This approach provides a comprehensive way to manage both metadata and attachment exports, offering flexibility and precision.
Common Mistakes and Best Practices
Even small missteps can disrupt your export process. One frequent issue is missing the 48-hour download window. Salesforce automatically deletes exported zip files 48 hours after sending the notification email, which means you’ll have to start over if you miss it. To avoid this, set a reminder as soon as you initiate an export.
Another challenge arises with large files – those over 1 GB (1,073,741,824 bytes). These can cause the export to fail or result in incomplete archives. To prevent this, use SOQL queries in the Developer Console to identify oversized files in advance. Once identified, download these files manually or through the REST API.
Formatting errors during re-imports can also be a headache. Carriage returns and line breaks in text fields often disrupt CSV alignment, rendering the data unusable. To sidestep this issue, always select the "Replace carriage returns with spaces" option when exporting.
"If your org contains extremely large files or an enormous number of files, the export can be incomplete, fail, or produce archives so large they are impractical to download."
– Matthew VanderMeer, Product Features
Using the wrong tool for specific export tasks is another common mistake. For instance, many users try to export attachments with Data Loader, but this tool only supports metadata, not attachments. Instead, use the Data Export Service or Workbench for exporting attachments. Additionally, keep in mind that the Data Export Service doesn’t function in sandbox environments, and scheduled exports won’t process there.
Comparison of Export Methods
Here’s a quick breakdown of export methods to help you pick the right one:
| Feature | Data Export Service | Data Loader | Reports / Workbench |
|---|---|---|---|
| Best For | Full backups and attachments | High-volume targeted data | Small, targeted datasets |
| Attachment Support | Yes (Includes Files and Attachments) | No (Metadata only) | Limited (IDs only) |
| Automation | Scheduled (Weekly/Monthly) | Command-line/API scripts | Manual |
| Technical Skill | Low (In-browser UI) | Medium (Client app/SOQL) | Medium (SOQL/Web UI) |
| Volume Limits | Org-wide; zips large exports | Up to 5 million records | Low (Report limits apply) |
| Installation | None (Native Setup) | Required (Client application) | None (Web-based) |
Streamlining Exports in AI-Native B2B Support Operations
Handling manual exports can drain time and resources. But with AI-native platforms, Salesforce data syncs in real time, cutting out delays and the hassle of working with expiring zip files. These systems establish a bi-directional connection with Salesforce, ensuring your team always operates from a unified and up-to-date source of truth.
Supportbench takes this a step further by consolidating CRM data, customer health scores, and contract details into a single 360° customer view. This eliminates the need to export cases into spreadsheets for a comprehensive perspective. With Supportbench‘s AI Co-Pilot, you can simply use natural language to retrieve specific details – no need for complicated SOQL queries. Meanwhile, its AI Automation feature pre-summarizes ticket resolutions automatically. The result? Significant efficiency improvements for support teams.
The benefits of these advancements are clear. For example, in 2025, Deel automated workflows to replace manual data entry and exports. This change saved 15 hours per week and improved efficiency by 75% for their Sales and Ops teams. Alex Bouaziz, Co-Founder & CEO of Deel, summed it up perfectly:
"Our Sales and Ops teams can do more in less time to help serve our customers better".
For B2B teams dealing with complex parent/child case structures, Supportbench handles these scenarios seamlessly, removing the need for manual CSV manipulation or advanced SOQL queries. It also resolves file size issues automatically. On top of that, built-in auditing ensures every exported record includes a traceable change history for compliance purposes.
Conclusion
Exporting Salesforce data doesn’t have to be complicated – choosing the right method makes all the difference. For non-technical administrators, the Data Export Service is a straightforward option for creating full backups on a weekly or monthly schedule, though it has a 512 MB limit. If you’re tracking metrics, reports are a better fit, while Data Loader and Workbench are designed to handle large datasets and complex SOQL queries. To avoid disruptions, use SOQL to identify files over 1 GB early in the process. The key is selecting the method that aligns with your operational needs.
Besides picking the right tool, success depends on having the proper permissions and managing files proactively. Make sure you have permissions like System Administrator, View All Data, and Query All Files – these ensure you have full control over your data.
For B2B teams dealing with complex accounts and detailed customer histories, manual exports can quickly become a bottleneck. AI-native platforms solve this by syncing data in real time, eliminating repetitive CSV downloads, and offering insights without manual effort. Instead of exporting cases to analyze customer health or SLA performance, these tools consolidate everything into a unified 360° view, complete with built-in auditing and automated workflows.
Ultimately, the best approach depends on your team’s technical expertise, the volume of data you’re handling, and your operational goals. If occasional backups are enough, native tools will work. But if you’re spending hours exporting, transforming, and re-importing data just to gain insights, it might be time to modernize your operations. Aligning your export strategy with your broader support needs ensures data integrity, compliance, and access to advanced AI-driven insights.
FAQs
What’s the difference between using Data Export Service, Data Loader, and Reports with Workbench to export Salesforce data?
The main differences between Data Export Service, Data Loader, and Reports with Workbench lie in their intended uses and how they handle Salesforce data exports.
Data Export Service is best when you need to schedule large-scale, periodic backups of your Salesforce data. It exports both standard and custom objects in bulk, packaging them as CSV files within ZIP archives. This makes it a solid choice for comprehensive backups or data migration projects.
Data Loader provides more flexibility for extracting specific datasets. With the ability to run SOQL queries, it allows you to target particular records, including attachments or binary files. This makes it ideal for detailed analysis or retrieving focused data sets.
Reports with Workbench is tailored for exporting filtered and summarized data directly from Salesforce reports. However, it may not include all records or attachments unless you configure it specifically for that purpose.
In summary, Data Export Service is perfect for full-scale backups, Data Loader excels in precise and customizable data exports, and Reports with Workbench is great for extracting summarized, report-driven data.
What’s the best way to handle large files when exporting data from Salesforce?
Exporting large files from Salesforce requires a thoughtful approach to avoid errors or slowing down the system. Tools like Salesforce Data Loader or Bulk API are particularly useful for managing extensive datasets. These tools support batch processing, making it easier to divide the export into smaller, more manageable parts.
One effective strategy is to split the data into segments before starting the export. You can achieve this by applying filters in the export tool, such as narrowing down by specific date ranges or focusing on particular record types. This approach not only simplifies the process but also helps you stay within Salesforce’s export limits, such as weekly or monthly quotas, preventing any disruptions.
Breaking large files into smaller chunks also reduces the chances of system timeouts or errors during processing. With proper planning and the right tools, you can streamline your data extraction process and keep everything running smoothly.
What permissions do I need to export Salesforce Cases, Emails, and Attachments?
To export Salesforce Cases, Emails, and Attachments, you’ll need specific permissions to access and retrieve the data properly. The key permission is "Weekly Data Export", which lets you schedule or manually run data exports from the Setup menu. Without this, the Data Export option won’t even show up, no matter what other permissions you have.
If you’re using tools like Data Loader or Developer Console, you’ll also need "Modify All Data". This permission gives you access to export data across all objects. For files and attachments, make sure you have the necessary permissions to query objects like ContentDocument and ContentVersion, which manage access to files stored in Salesforce.
To sum it up, you’ll need "Weekly Data Export", "Modify All Data", and permissions for file-related objects to successfully export Cases, Emails, and Attachments.